
WP STAGING | PRO can push all media files, the theme, plugins, and all database data from a WordPress staging website back to a production site.
Insights: To get a fundamental technical understanding of how WP STAGING moves your Staging Site to Production site and to learn the differences between files and database data, read the articles below:
– How Does WP STAGING Handle WordPress Migration
– The WordPress database structure
If you want to copy the data from the staging site to the production site, you have two options:
You can either repeat the operation you did on the staging site manually on the production site or use WP STAGING | PRO’s database migration feature, which is included in the Push Changes feature.
Go to your Production Site > WP STAGING > Start / STAGING
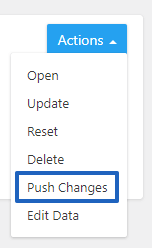
If you have more than one staging site, select the one you want to transfer to the production site and click on the Push Changes button.
Push Changes Button
Note that any table chosen will overwrite its pendant on the production site completely.

If you want to exclude specific data from being overwritten on the production site, unselect the particular database table from the selection.
Check out the link below to learn more about WordPress core tables and find out which data is available in a certain table.
Click on Select Files and choose all plugin, media & theme folders containing the data you like to copy over to the production website.
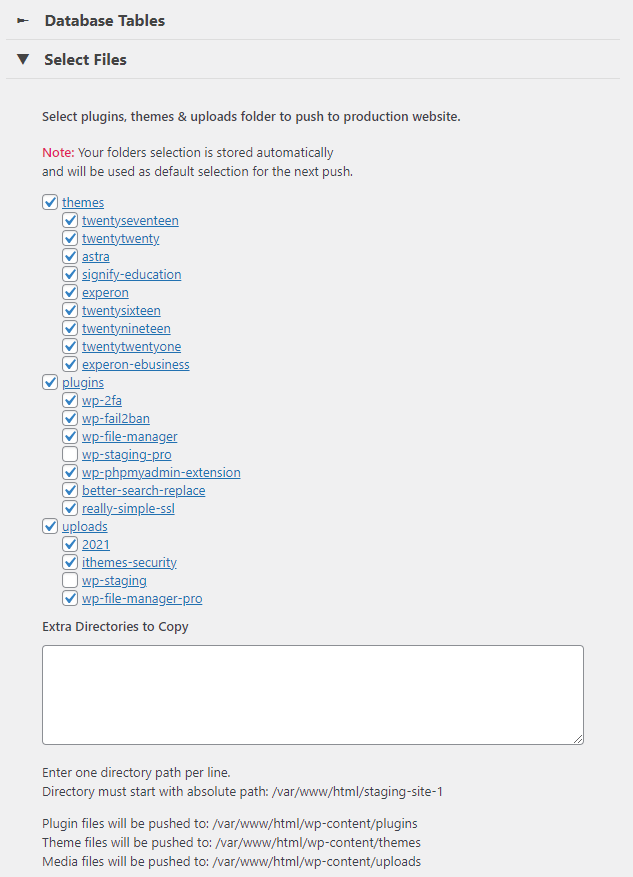
You can also define extra folders you like to move to the production site by adding the full absolute path to the text area.
There are a few extra options that you can use.
- Uninstall all plugins on the production site …
- Delete wp-content/uploads folder …
These options help you to ensure that your production site will contain only the files that are existing on the staging site when you execute the push process.
For example, you uninstall a specific plugin on the staging site or delete an image. Then you can choose if you want to get this plugin and image deleted on the production site as well.
If you keep these options disabled, nothing on the production site will be deleted and the particular plugin and image will still be available. In the case of a plugin, the plugin then will be deactivated only.

Click on Push Staging Site to Live Site, and the push process starts.

When the push process is done, reload your website, and you’ll see all the new content on your production site.
Note: WordPress sometimes requires you to log in again after a full push.
That’s it; you are done.